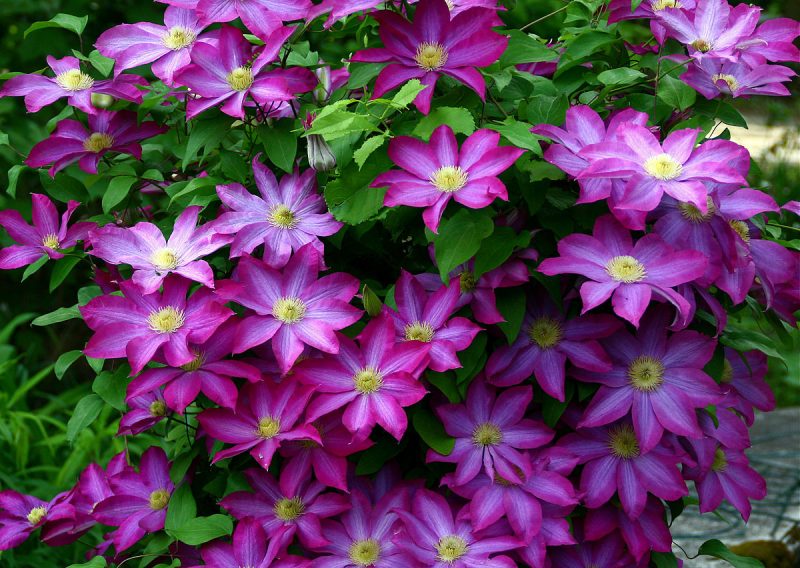
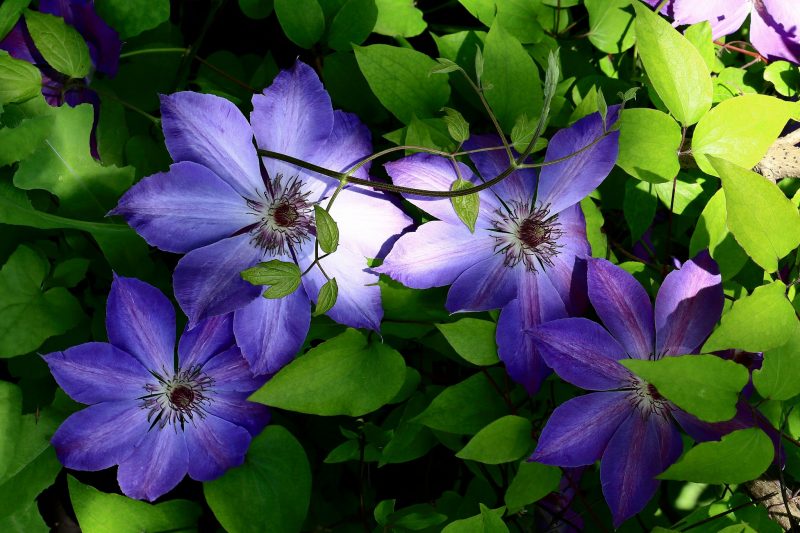
In recent years, clematis have gained extraordinary popularity among owners of summer cottages and private homes. These beautiful creepers during the flowering period unusually decorate the site. Clematis are not cheap, but I want to have them - not one, not two. Meanwhile, this plant is easy to breed, and each grower, ultimately, can have as many vines as he wants. How to propagate clematis?
Material Content:
Clematis Reproduction
It is best to start clematis reproduction in spring or autumn. For this purpose, you can use cuttings, cuttings or seeds. Another option is to divide the adult healthy bush into parts.
Cuttings in autumn and spring
This is a very popular method of propagation, thanks to which you can get a lot of strong and healthy seedlings.
Pruners cut cuttings from the middle of the shoot. The slice should be done at an angle of about 45 degrees, on each handle there should be 2 nodes.
In order for the cuttings to successfully take root, it is advisable to acquire preparations in advance that stimulate root formation - a wide selection of them is presented in specialized stores.
It is important that the room where the cuttings will be located is not too hot. The air temperature should not rise above + 20 C.
Cuttings are planted in separate pots, any ready-made soil intended for flowers can be used.
As a rule, rooting is successful. As a result of the propagation of clematis by cuttings in the fall, the seedlings are strong and tolerate planting well in open ground.
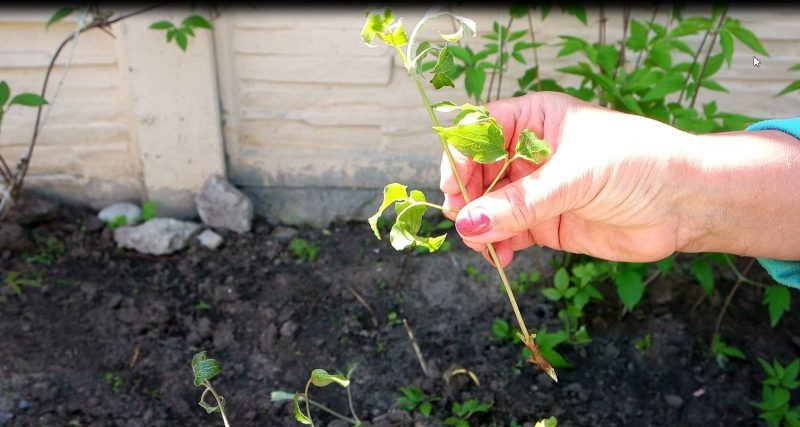
Layering
Another common way to multiply clematis is to make layering. To do this, in the fall, at the end of September or the beginning of October, decaying foliage is cut from the shoots intended for propagation and the faded part is separated, trying to save all the buds.
After this, the shoots are twisted into a bundle and laid in specially dug grooves filled with peat. From above they are also thrown with peat or simply earth, then they compact the soil.
For the winter, clematis and layering in their “underground shelter” are additionally sheltered. You can use dry foliage, small branches, covering material.
In spring, all this is cleaned, and the place where the layering is located is regularly watered. Then comes the time of emergence of seedlings. It is advisable to mulch the soil around them. In autumn, young clematis can be separated and transplanted to a permanent place.
Layers can be laid in early summer, but then there is no guarantee that young shoots will safely winter.
In spring, instead of making layering, it is worth “pinning” young shoots to the ground. It is even better to bury a pot in this place so that during irrigation the water does not flow, and all the future seedlings go to it. In autumn they can be separated and moved to another place.
Seeds
If you decide to cultivate clematis, then you may have bought seeds - they are much cheaper than seedlings. Or they decided to collect the seeds of vines already on the plot and, thus, increase the number of their clematis.
Conventionally, the following groups can be distinguished:
- Large seeds germinate up to 1.5 to 8 months.
- Medium seeds germinate from 1.5 to 6 months.
- Small seeds germinate from 2 weeks to 4 months.
The greatest chance to germinate quickly and amicably is in seeds that have been harvested recently, this year. In general, with proper storage - moderate air temperature and lack of humidity - planting material retains the ability to germinate up to 4 years.
Planting dates, respectively, depend on the size of the seeds. Large need to be sown in November-December, medium - in January, small - in March. Pre-planting material is soaked for 7-10 days, water is regularly changed.
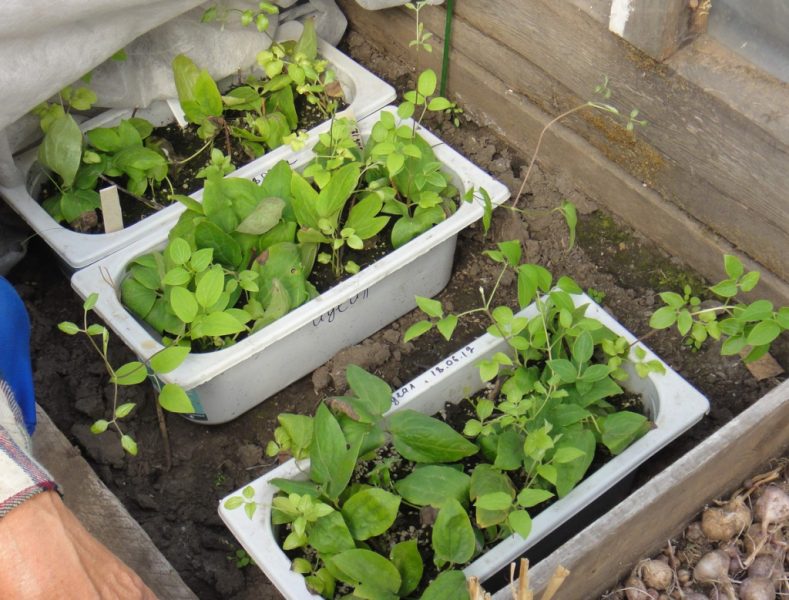
A box or pot is filled with soil. You can use purchased, or cook it yourself - mix the earth, sand and peat in equal proportions.
Seeds are laid on moist soil and lightly sprinkled with sand, carefully compact it with a palm. On top of the box is covered with film or glass. It is desirable to maintain the temperature high enough + 24-30 C.
Watering should be done very carefully so as not to damage the seeds. It is best to pour water into the pan. The film or glass is periodically removed from the box for up to 30 minutes. Do this to ventilate the mini-greenhouse, and mold does not form on the ground.
After emergence, the film or glass is removed.
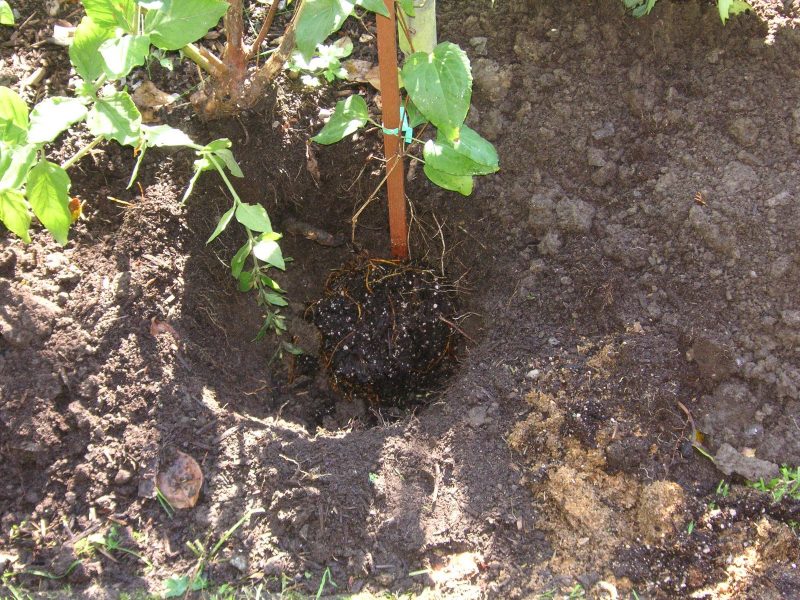
Dividing the bush
This is a fairly quick way to get multiple clematis from one. For division, you need to use a mature, but not an old plant. It is desirable that clematis be no more than 6 years old. In spring or autumn, the bush is carefully dug up, trying not to damage the roots, they are cleaned from the ground. Then, using a secateurs, the bush is divided so that on each separated part there are kidneys.
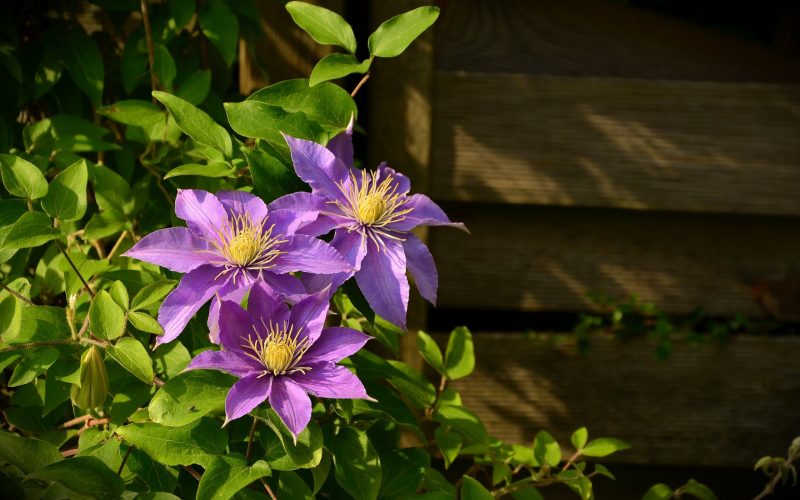
Clematis planting
Clematis usually try to plant in the place where they will look most spectacular - against the wall of the house, arbors, decorative pillars, hedges.
How and when to plant?
As already mentioned, cuttings are planted in spring or autumn, but seeds - from the end of autumn - until the first month of spring. After emergence, flower growers wait for the first true leaves to appear, after which young plants are transplanted into separate pots. They should be at home until the threat of frost passes. In each region, the time for this is different, but on average you can focus on the end of May.
They are planted so that young clematis are not in bright sunshine, the soil is quite light, and the distance between the plants is at least 20 cm.
Periodically, you can pinch, begin to develop vines. This contributes to the enhanced development of roots, the plant becomes denser.In the autumn, seedlings are covered, and in the spring they are planted, so that the distance between them is already about 50 cm. Only after 3 years, when a fairly powerful root system is formed at the clematis, they can be planted in a permanent place.
Soil preparation and location
The place where clematis will grow should be where the vines are not threatened by drafts and strong winds. Some shading is also necessary so that the hot summer sun, especially in the midst of the day, does not harm the plants.
Now it is not difficult to determine the chemical composition of the soil. For clematis, slightly alkaline, fertile is more likely. The most unfavorable is heavy clay soil, in which water stagnates - the root system of vines needs good drainage. You can make a small hill, add peat, river sand to the ground, and then plant the plants.
If you are going to plant clematis near any building, make sure that during rain, water running from the roof will not drain directly onto the vine.
If you bought clematis in the fall and did not have time to plant it on the site - the plant can be stored in a cool place with a temperature of up to +5: for example, in a cellar, in a garage. Sprinkle the roots with soil at this time, pinch the shoots. It is important not to allow the root system to dry, and to make sure that the shoots do not start growing before spring.
Landing Nuances
If you plant clematis in spring - choose a seedling where there is at least 1 shoot. At the bottom of the pit, it is desirable to put drainage. Crushed stone, fragments of brick can serve them. In poor soil, in addition to sand and peat, add compost, as well as superphosphate.
It is imperative to consider the supports on which the vines will curl. It is good if they will be not less than 2 m in height.
During planting, the shoot itself must be buried in the ground, until the first internode. Then the plant is watered. It is also good to immediately mulch the earth around.
In southern Russia, clematis are often planted in the fall. Seedlings are covered with dry foliage. In spring, you can select a little soil around the plant so that the shoots are easier to grow.
For such care, clematis will thank you with a lush carpet of flowers that will decorate your site.


